|

|
by Anjan Nath
Scale: 1/288
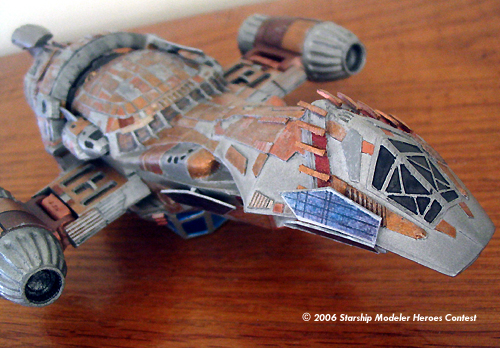
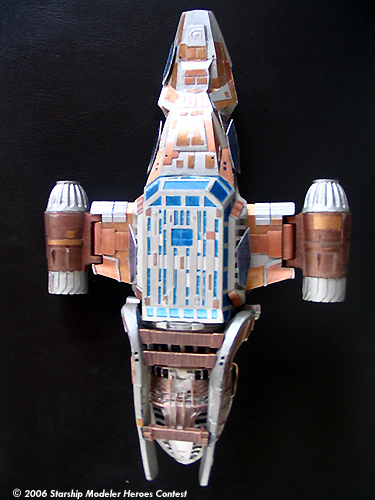
This is my newly completed Stargazer Models' 1/288 scale Firefly
class transport "Serenity"t. Sure, she's only the
"10th Character" in the show, but for me, she's the only one that ever
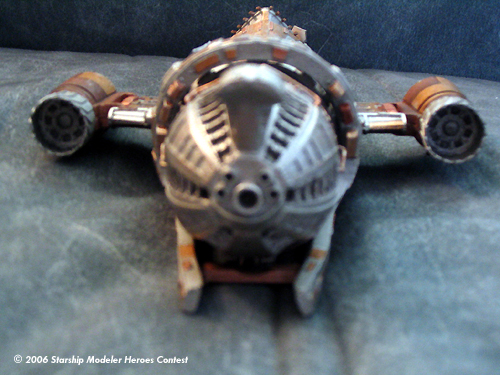
really counted: Mal's one true love. Finshed, the model measures about 8¾" in length, and features rotating engine pods and 2 removable shuttles.
I read a favorable review of this kit on the Starship Modeler website back
in March, so I was thrilled to order one for my own.
The kit really is very nice, though (unlike the reviewer's) mine had ALOT of
pinholes and air bubbles in need of filling (I counted 60 on the beehive
alone), and I was very nervous about the wire "piping" details to be added,
as well. In fact, the directions are terrible with respect to the wire
placement (3 b&w photos is all that's included). Luckily, I managed to
discover that the Stargazer Models website includes step-by-step directions
and pics for the piping. So, I spent about 3 weeks on the "pipes", before
moving on to the build. There was a bit of sanding and cutting involved to
get the parts to fit nicely, but nothing too major (though getting the yoke
to fit over the completed wiring was quite a challenge).
Next, on to the painting. I had some real trouble here. In some shots of the
show, Serenity looks very silvery to me. Other times, more bronze. I did the
freeze frame thing and thought I had a handle on it. Then I watched the
movie, which just confused me all over again. Here's an example of what I
mean: the large cargo bay belly seems to be metallic blue for most of the
movie. There's even a shot of them coming out the doors after landing (near
the beginning of the film), and it's clearly blue. So, I've got it, right?
Then I watch the crash-landing sequence near the end and there isn't a bit
of blue in sight. So what could I do? Realizing that "authenticity is in the
eye of the beholder", I decided to make her "my Serenity". I painted her as
I imagined she should/would look: with a basic metal finish that's had lots
of panels replaced by anything that happened to be handy during her
lifetime.
|
|
(Incidentally, about 3/4 of the way through painting, I discovered
the beautiful Wikipedia pictures, and realized I hadn't been too far off!)
Serenity got a coat of steel over a base of flat black. I then went about
hand-painting individual panels with any metallic colors I had handy: bronze
(mostly), 3 shades of copper, 2 shades of rust, aluminum, even some gold,
and various greys.The top of the head (under the spikes) got some insignia
red mixed in, and the darker detailing was done with grimy black and flat
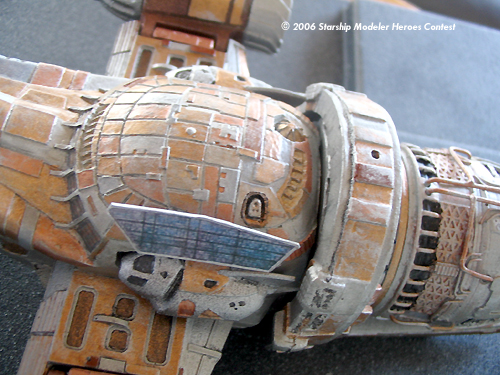
black. The cargo bay was painted metallic blue by hand, then drybrushed with
bronze, and then drybrushed again with metallic blue, giving it a little bit
of a "shimmer". I selectively drybrushed the entire ship with steel again
and grimy black for some weathering (I tried to focus especially on the
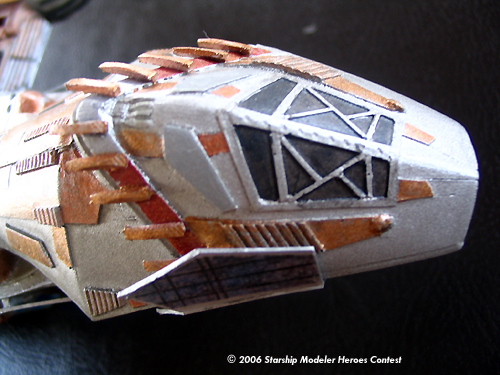
yoke). The "head spikes" were added at the end (the kit comes with a flat
styrene tube to cut and file into shape, which I was skeptical about, but it
really does add a lot to the model), after which the entire ship was
dullcoated to tone down the metallic shades a bit. Finally, the solar panel
decals were added to sheet styrene, sealed in with a coat of Future, and
then glued on to the hull.
Overall, I'm happy with the results: she looks like I imagine she would.
Image: 'Bridge'
Image: Rear view
Image: Underneath
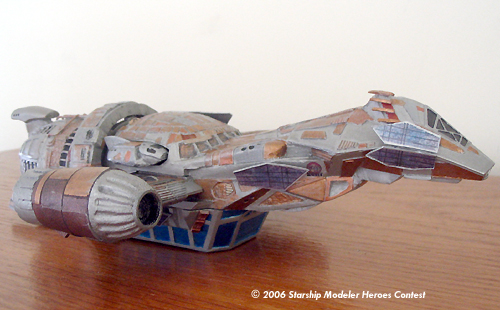
Image: Starboard side
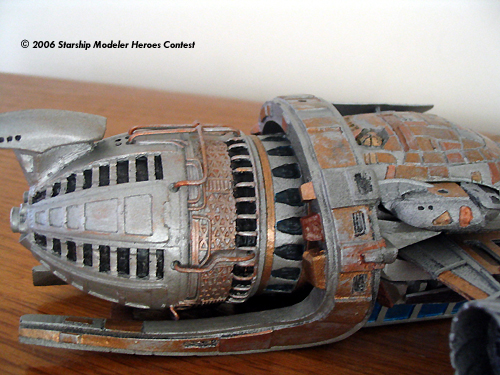
Image: Engine detail
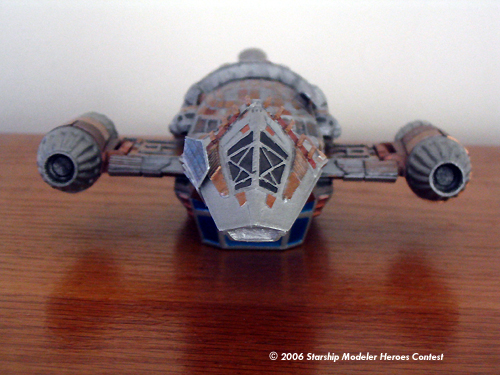
Image: Head-on
Image: Top view
|
|
![[Heroes banner by Allison Cottreau]](HeroesBanner2.jpg)