by Michael Todd
Scale: 1/72
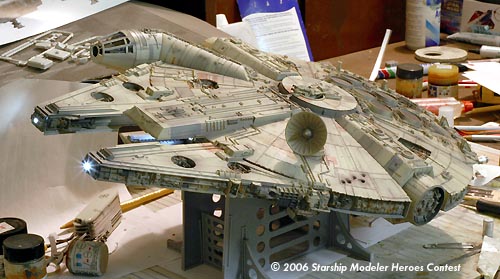
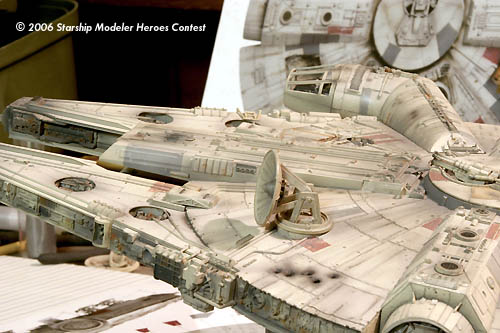
This is my Fine Molds Falcon. It took me several months to complete and was a heck of a challenge. Whilst the FM Falcon is by far the best kit of this ship yet porduced, I felt it could still use some work to improve it. To this end I decided to add lights, blast damage, score out the lip between the hull and the mandibles and match the stuidio model paint job as best I could.
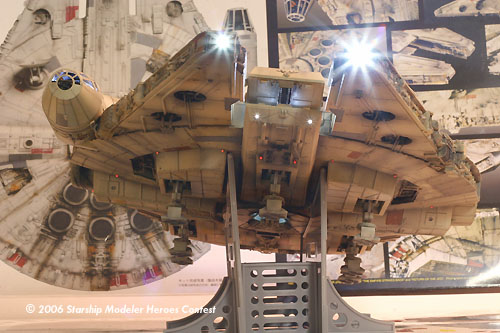
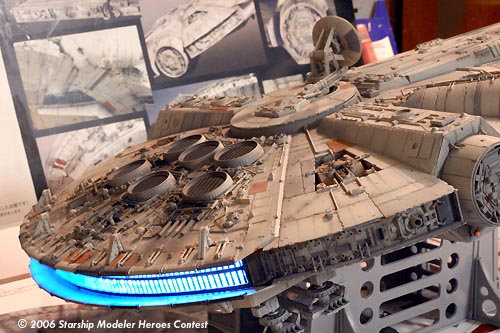
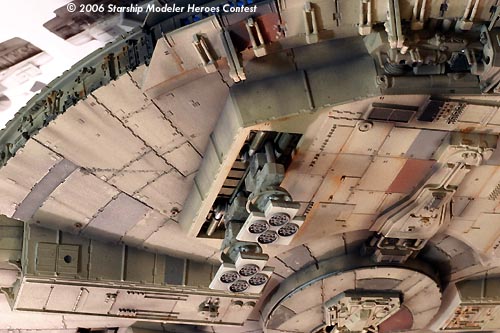
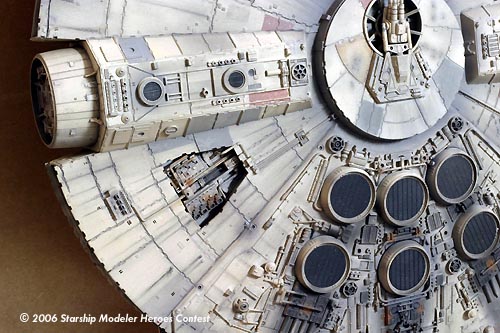
The cockpit back wall is a backlit tarnsparency of a cockpit graphic I knocked up; the console, 3PO's eyes, red running lights and small lower mandible lights are fiber optics. The engine uses FALCONDESIGNS clear engine piece recasts (Thanks Alex, they look great) with some EL tape running behind them. I lightly sprayed the thrusters with a mist of silver so that when the lights are off it's so dark in there they look solid, not clear. There are LEDs in the gunwells and headlights. The gunwell walls have decals I made of the interior based on screenshots and reference, not that you can see much of the gunwell interior in the pics, they look better in person.
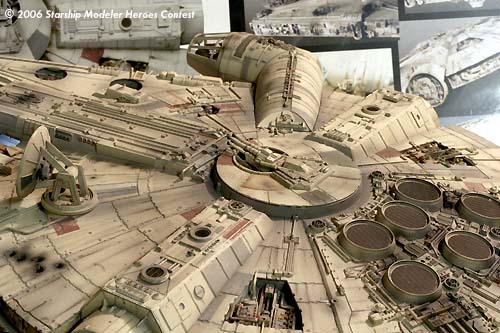
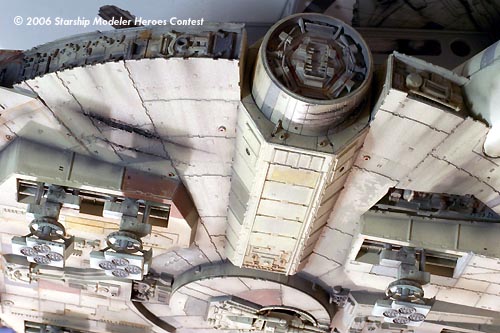
I carved out the overhang between the mandibles and the hull plates, the notches on the rims and insets. I trimmed the plates back from the puter edge entirely in three spots to match the shooting miniature. I didn't "correct" the madible angle as I didn't feel it was worth the effort and risk. To me, it's not that big a deal. I did add some more detail to a few spots and might go back later and add some
more to the Upper Jaw box sides and front, a la Quarz' but for now, I'm going to give it a break as I've been working on this since the kit came out and I'm in danger of ruining it if I do too much.
![[Heroes banner by Allison Cottreau]](HeroesBanner2.jpg)