![[Starship Modeler's sixth on-line modeling contest: Battlewagons!]](battlewagon_contest.jpg)
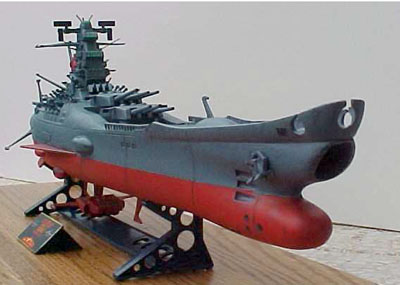
EDF Argo (Yamato) |
||
|
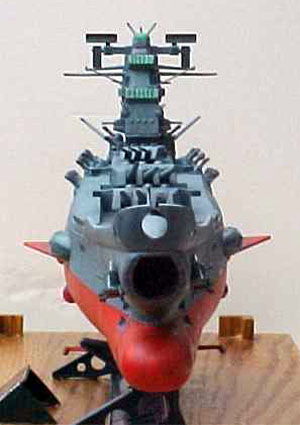
By Scott Sperti Scale: 1/500MODEL DESCRIPTION: 1/500 Scale Argo (Yamato) from the Starblazers cartoon series MATERIALS USED: Stock kit, Styrene sheet and rod, Testers spray paint and Clear color printer labels. Small cannons from a damaged 1/1000 scale Argo kit I bought 17 years ago. DVD's for reference. PAINT: I used Tester's Model Master spray paints in 3 colors; Intermediate blue (Upper Hull), Panzer gray (Main Engine and Radar), and Flat red (Lower Hull). DETAILS: I painted rust streaks on all over the surface of the kit by using varying combinations of the 3 hull colors. More red on the Lower Hull, More gray on the top. FEATURES: Airfoils open and retract. Smoke stack removes to show missiles. Main guns rotate. MODIFICATIONS /CORRECTIONS: I first saw this kit 17 years ago in my local hobby shop when I was 12 years old. I had been a big fan of Starblazers since I was 8 and had no idea there were models of my favorite ships. At that time I could not afford the $80 price tag, so I settled for the $10 1/1000 version. 17 years later I finally found another copy of this kit. Most of the Japanese kits I have assembled in the past need very little modifications, but this has got to be the least accurate Japanese kit I have seen. After waiting this long there was no way I was going to assemble it as is. Following is a list of the items that I modified broken down by ship section. |
|
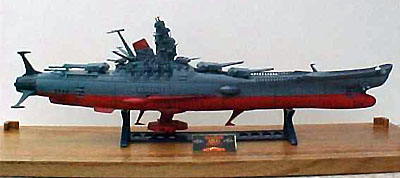
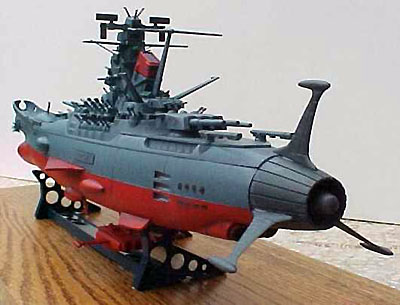
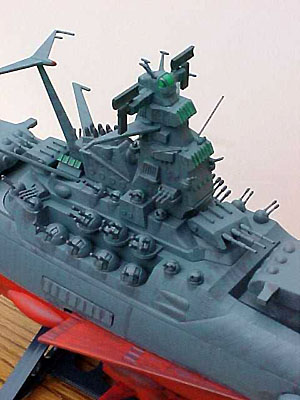
Image: Bridge area Image: Bow-on view Image: Top view |
||
This page was last updated 29 March 2002